Prepare the two Stripe accounts and choose an environment
A migration is a coordinated cutover between a source account (the seller) and a destination account (the buyer). Naming those roles now prevents the most dangerous mistake later: creating or cancelling objects in the wrong account.
Do this
- 1
Assign an owner on each side
Keep one person with Stripe administrator access to the source account and one to the destination account available. Both should have two-step authentication enabled and be able to create restricted API keys.
- 2
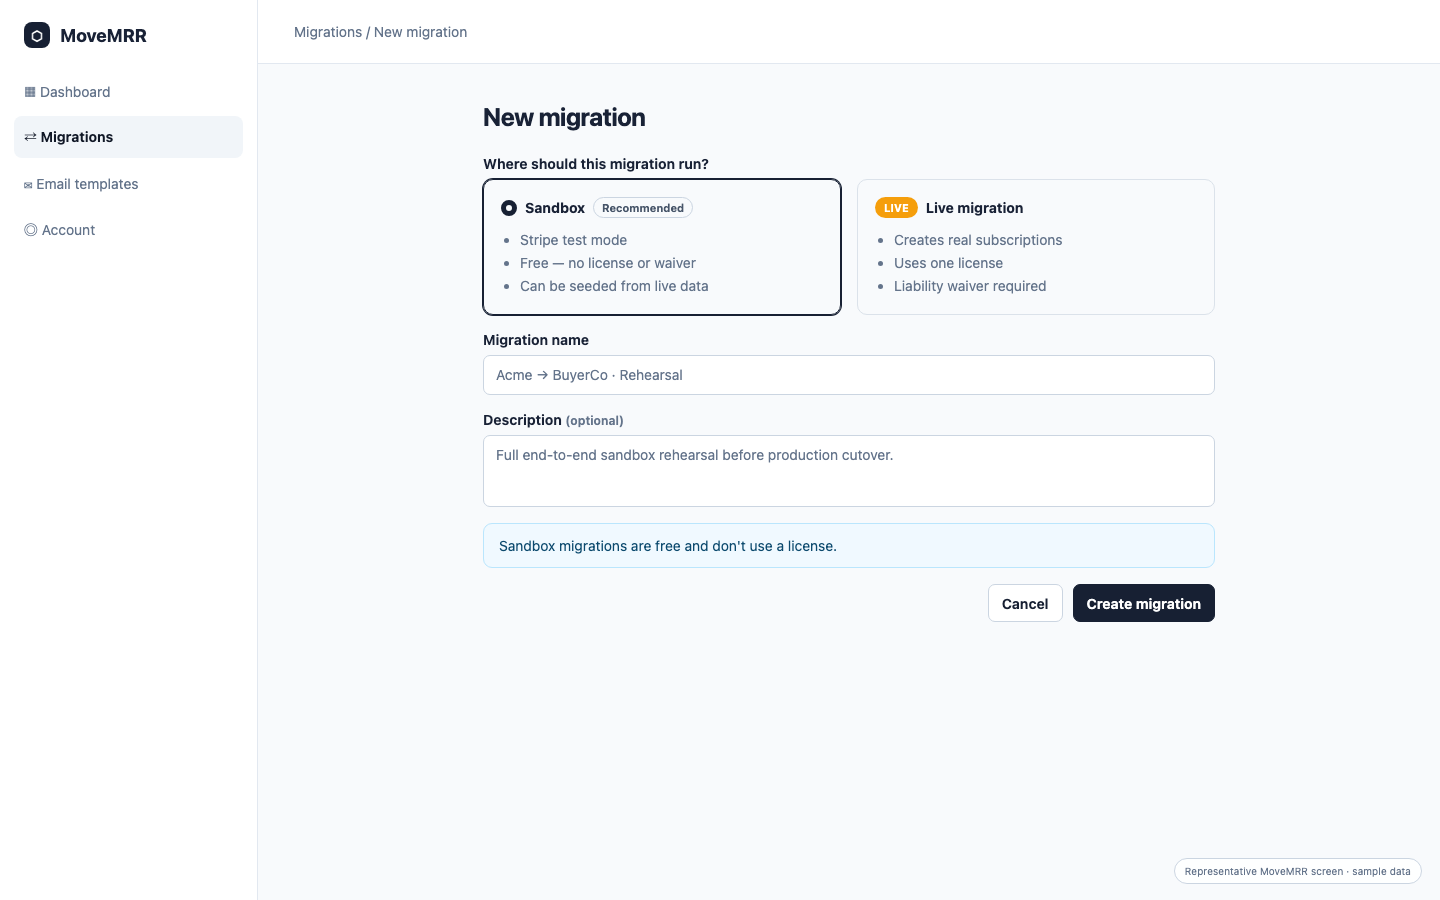
Choose Sandbox or Live migration
Start with Sandbox when you want a no-risk rehearsal in Stripe test mode. Sandbox projects are free, use test keys, and require no liability waiver. Choose Live only for the production cutover; it creates real subscriptions, can affect real billing, and uses one migration license.
- 3
Choose a quiet operating window
Avoid product, pricing, coupon, customer, and subscription changes while the final rehearsal and live run are in progress. If your team must make a change, finish it first and run readiness again.
- 4
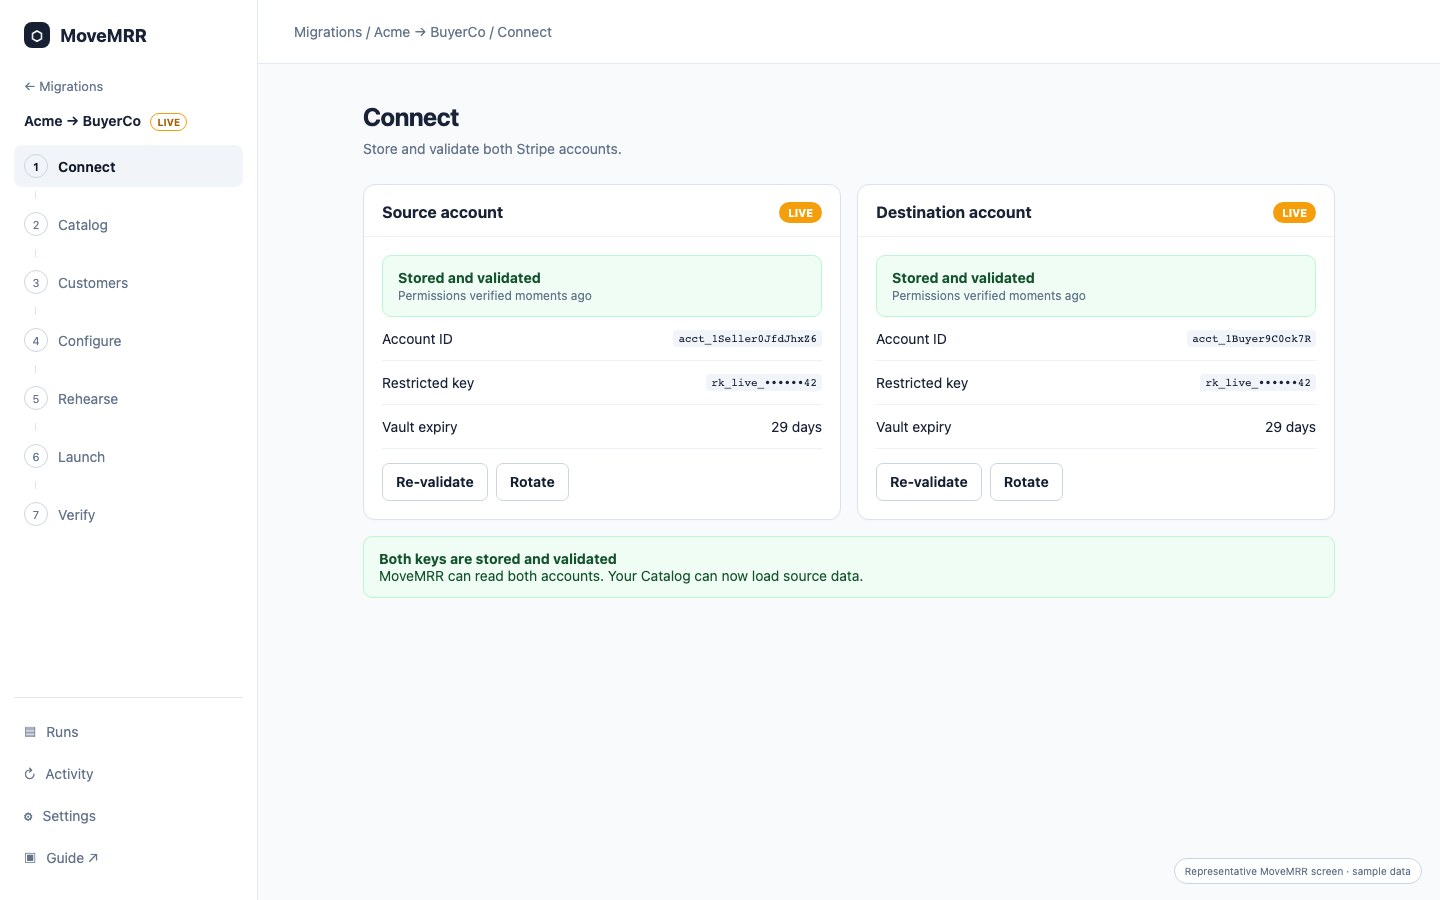
Record the destination account ID
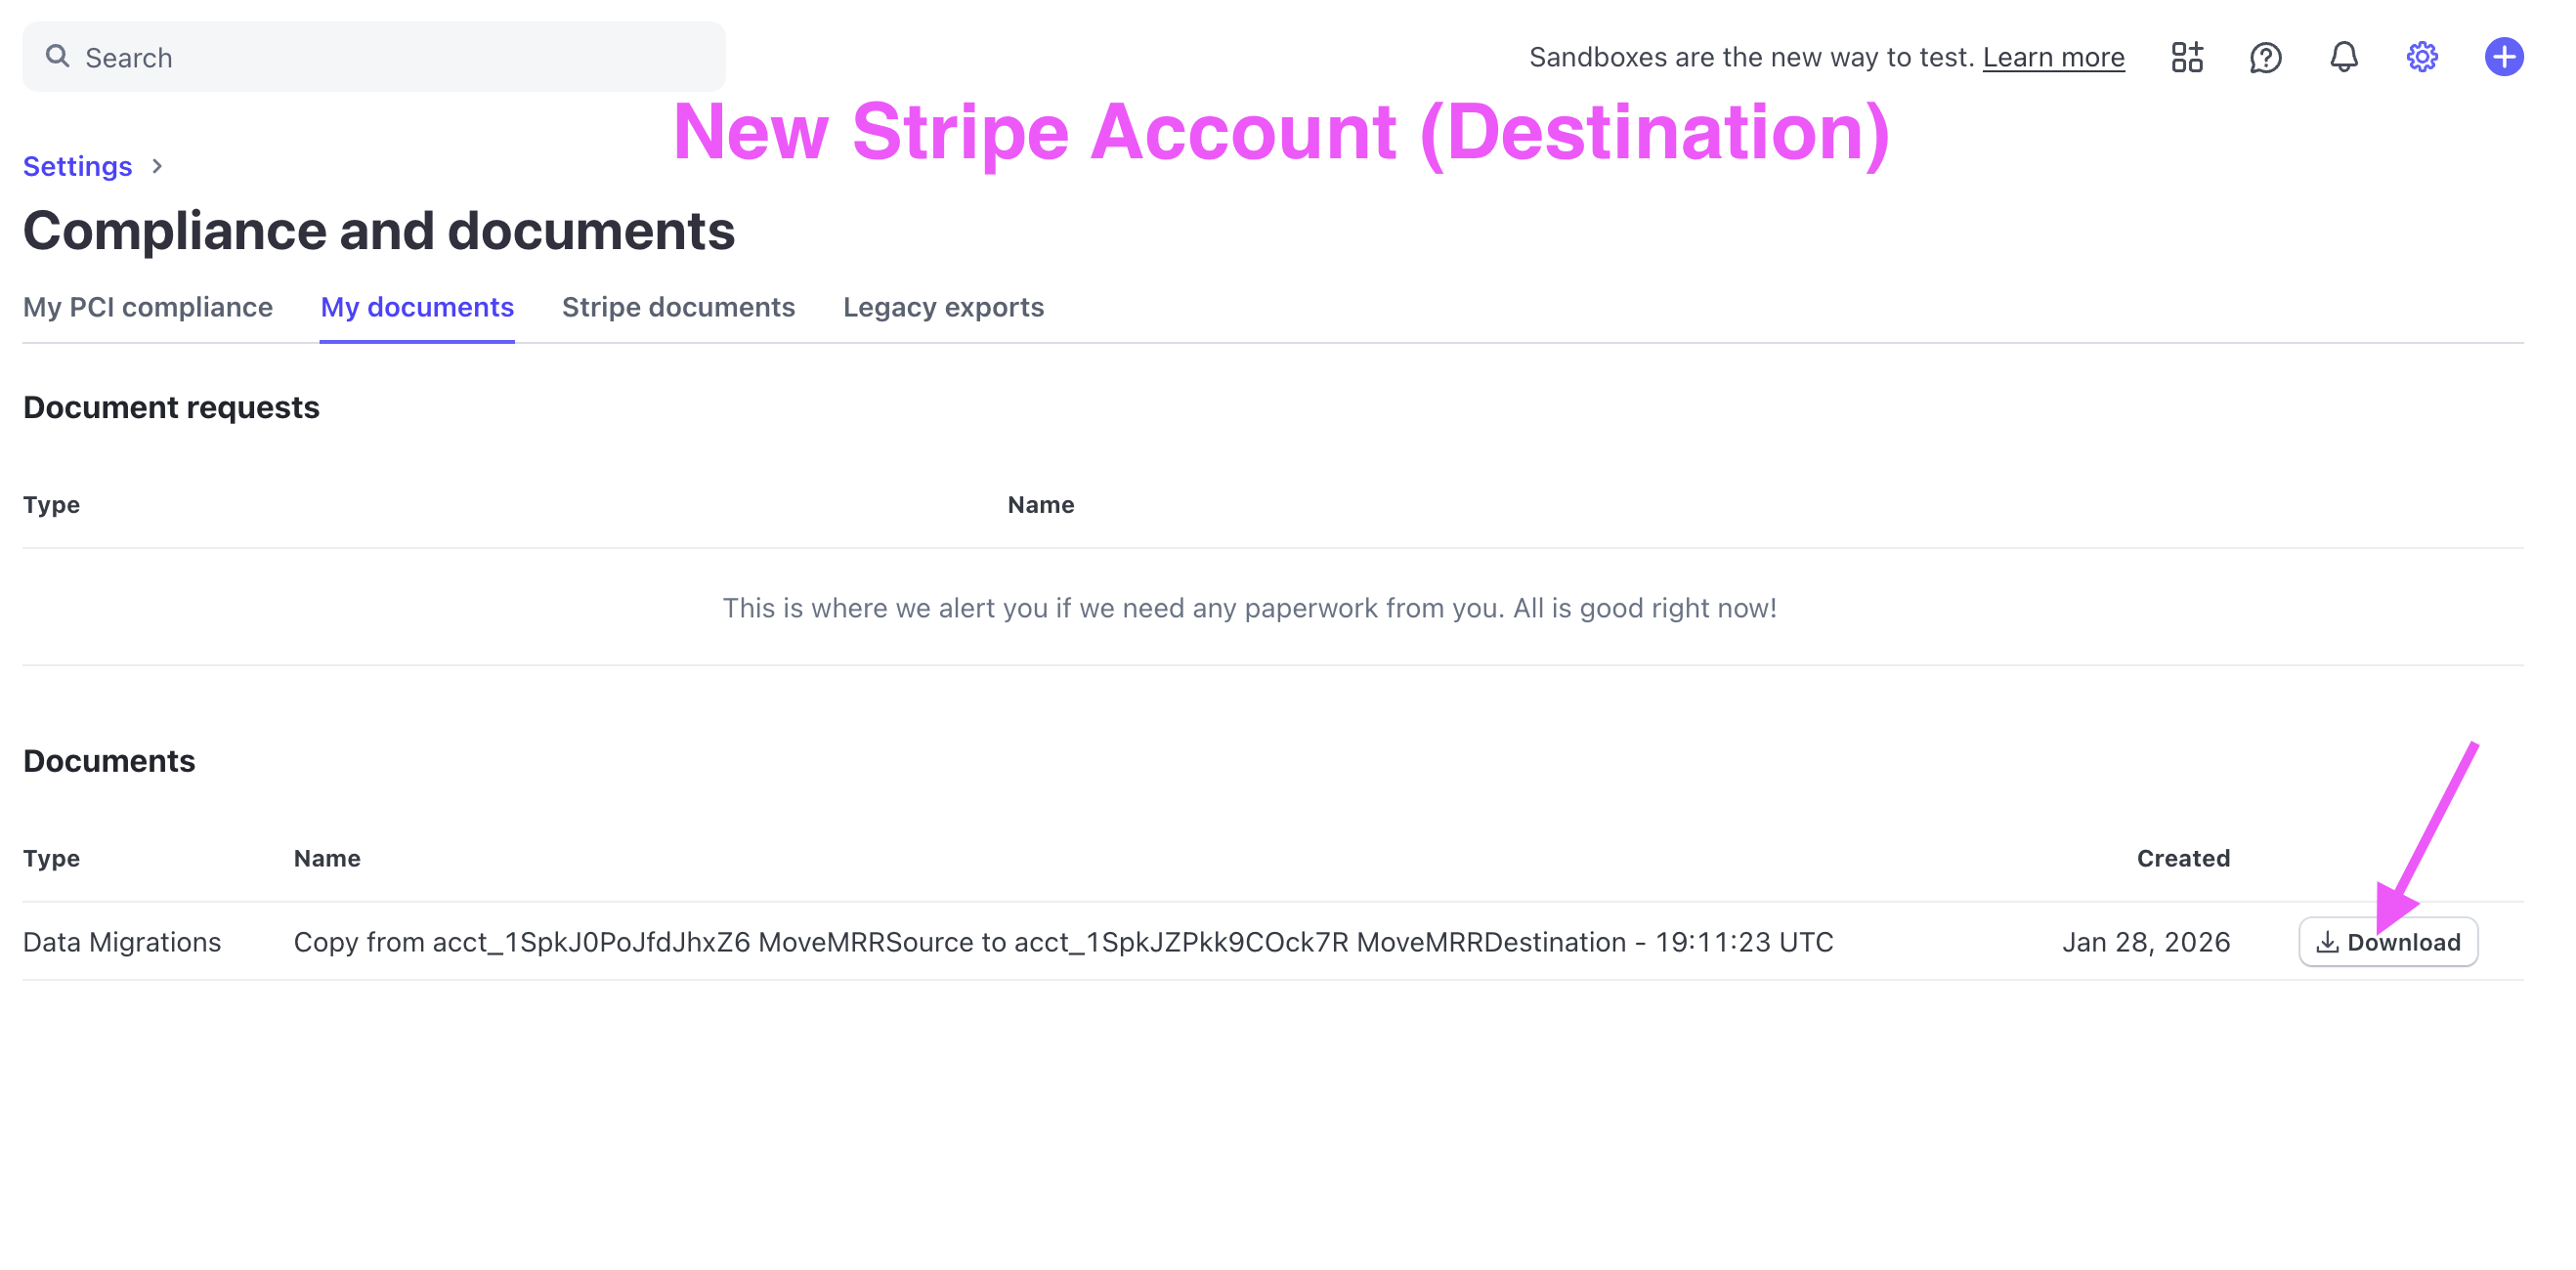
In the destination Stripe Dashboard, copy the account ID beginning with acct_. You will use it when the source account sends the Customer Data Copy.
Continue only when
- You can switch between both Stripe accounts without losing access.
- You know which account is source and which is destination.
- You have decided whether this project is a sandbox rehearsal or the live cutover.
Watch out
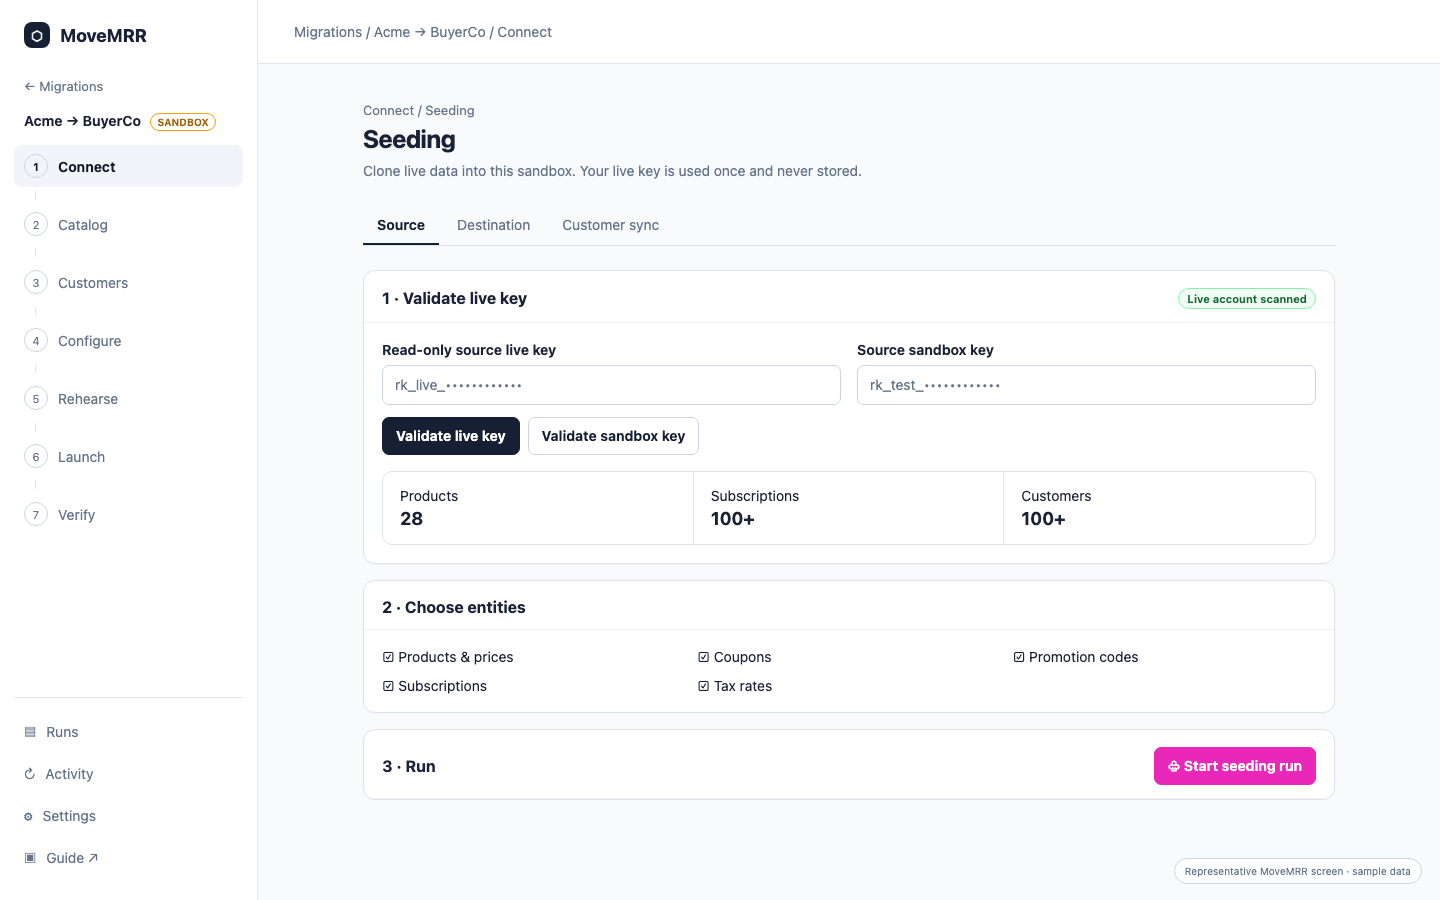
A MoveMRR Sandbox project and a Stripe sandbox are related but different: the MoveMRR project connects two Stripe test environments. If those environments are empty, use the optional seeding guide after Connect.